The E6B flight computer has been in cockpits since the 1940s, and despite smartphones, iPads, and ForeFlight, it's still required knowledge for every pilot. You'll use it during ground school, on your written exam, and during your checkride — and once you learn it, you'll find yourself reaching for it even when a digital option is available.
The problem is that most E6B instructions read like they were written by engineers for engineers. This guide is different. We'll walk through each function with real-world flying examples, step by step, so you can actually use the thing instead of staring at it in frustration.
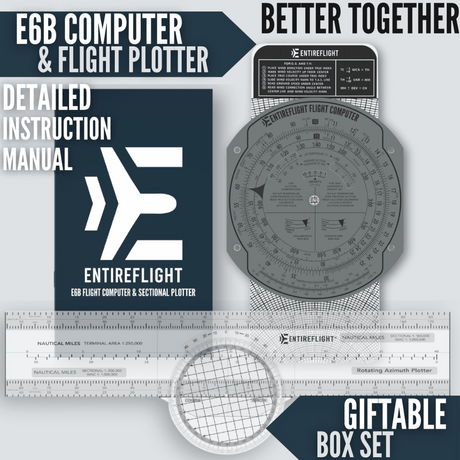
If you don't have an E6B yet, the EntireFlight E6B Flight Computer and Sectional Plotter Bundle includes everything you need for flight planning — the E6B plus a plotter for measuring courses on sectional charts. It's the bundle most flight instructors recommend to their students.
Understanding the E6B: Two Sides, Two Functions
An E6B has two sides, and they do completely different things.
The Calculator Side (Front)
This is the circular slide rule. It handles multiplication, division, and unit conversions using two rotating discs. The outer disc represents one set of numbers, the inner disc represents another, and by aligning them you can solve problems involving speed, distance, time, fuel burn, and conversions.

The key concept: the E6B is a ratio calculator. When you line up two numbers, every other pair of aligned numbers on the discs has the same ratio. This one principle powers every calculation on the calculator side.
The Wind Side (Back)
This is the plotting disc with the sliding card. It handles wind correction problems — figuring out what heading to fly and what your groundspeed will be when the wind is pushing you off course. The wind side is what trips up most students, but it's actually straightforward once you understand the three steps.

Calculator Side: Essential Functions
1. Speed, Distance, and Time
This is the most common E6B calculation. You know two of the three (speed, distance, time) and need to find the third.
The key: The outer disc is distance (or speed), and the inner disc is time. The speed index arrow (marked with a triangle or "▶") on the inner disc represents 1 hour (60 minutes).
Example: How long will it take to fly 120 nautical miles at 100 knots?
- Find 100 (your speed) on the outer disc
- Rotate the inner disc until the speed index (60/▶) aligns under the 100
- Find 120 (your distance) on the outer disc
- Read the time on the inner disc directly below it: 72 minutes (1 hour 12 minutes)
Example: You flew 45 nautical miles in 30 minutes. What's your groundspeed?
- Find 45 on the outer disc
- Rotate the inner disc until 30 (minutes) aligns under 45
- Read the number on the outer disc above the speed index (60): 90 knots
2. Fuel Burn Calculations
Fuel burn works exactly like speed/distance/time — just substitute "gallons per hour" for "speed" and "total gallons" for "distance."
Example: Burning 8 gallons per hour, how much fuel for a 2.5-hour flight?
- Set the speed index (60) under 8 on the outer disc
- Find 150 minutes (2.5 hours) on the inner disc
- Read the outer disc above it: 20 gallons
Example: You burned 12 gallons in 1 hour 15 minutes. What's your fuel burn rate?
- Find 12 on the outer disc
- Align 75 (minutes) on the inner disc below it
- Read the outer disc above the speed index: 9.6 gallons per hour
This is incredibly useful for in-flight fuel management. If you know how long the flight will take and your fuel burn rate, you can quickly verify you have enough reserves — without pulling out your phone.
3. True Airspeed (TAS) from Indicated Airspeed
Your airspeed indicator reads indicated airspeed (IAS), but your actual speed through the air — true airspeed — changes with altitude and temperature. The E6B corrects for this.
Example: You're at 7,500 feet, outside air temperature is -5°C, and your IAS is 110 knots. What's your TAS?
- In the small window on the calculator side, align your pressure altitude (7,500 or 7.5) with the outside air temperature (-5°C)
- Now the discs are set for the air density correction
- Find your IAS (110) on the inner disc
- Read the TAS on the outer disc directly above it: approximately 121 knots
True airspeed is always higher than indicated airspeed at altitude (because the air is thinner), so if your answer is lower, something's off.
4. Density Altitude
Density altitude tells you how the airplane will perform. A hot day at a high-elevation airport means the air is thin, and the airplane performs as if it's at a much higher altitude.
Example: Airport elevation is 5,000 feet, temperature is 30°C. What's the density altitude?
- In the small TAS window, set pressure altitude (5,000) against the OAT (30°C)
- Read the density altitude in the density altitude window: approximately 7,500 feet
This means your airplane will take off, climb, and perform as if you're at 7,500 feet — significantly worse than the 5,000-foot field elevation would suggest. This calculation has saved lives at airports like Leadville, Colorado, and anywhere in the desert Southwest during summer.
5. Unit Conversions
The E6B has conversion markers for common aviation unit conversions printed on the discs:
- Nautical miles ↔ Statute miles: Find the NM marker and SM marker on the discs. Align your known value with one marker and read the conversion at the other.
- Gallons ↔ Liters: Same process using the GAL and LTR markers.
- Fahrenheit ↔ Celsius: Usually a separate scale printed on the E6B body.
Wind Side: Solving Wind Correction Problems
The wind side of the E6B is where most students get stuck, but the process is actually just three steps once you understand what you're solving for.
The problem: You want to fly a certain course (your desired track over the ground), but the wind is blowing from a specific direction at a specific speed. You need to figure out: (1) what heading to point the airplane, and (2) how fast you'll actually travel over the ground.
The Setup
You need three pieces of information:
- True course — the direction you want to travel (from your flight planning)
- Wind direction and speed — from the weather briefing (winds aloft forecast)
- True airspeed — from your aircraft performance data
Example: True course 090°, wind from 040° at 20 knots, TAS 110 knots.
Step 1: Plot the Wind
- Rotate the azimuth ring until the wind direction (040°) is at the top, under the true index
- Slide the card up until the center grommet is on a convenient reference line
- From the grommet, measure UP 20 knots (the wind speed) and make a pencil dot
Step 2: Set Your Course
- Rotate the azimuth ring until your true course (090°) is at the top
- Slide the card until the pencil dot falls on the TAS arc (110 knots)
Step 3: Read Your Answers
- Wind correction angle (WCA): The pencil dot is offset from the center line — count the degrees. In this example, it's about 8° to the left, so your WCA is -8°
- True heading: 090° - 8° = 082° (you need to point left of your course to compensate for the crosswind)
- Groundspeed: Read where the center grommet now falls on the card: approximately 97 knots (the headwind component is slowing you down)
That's it. Three steps, three answers. The wind correction angle tells you how much to crab into the wind, the heading tells you where to point, and the groundspeed tells you how fast you'll actually get there.
Common E6B Mistakes and How to Avoid Them
Reading the wrong scale. The inner and outer discs have numbers that look similar. Always double-check which disc you're reading by tracing your finger from the number to the disc edge.
Forgetting the decimal. The E6B doesn't show decimal points — you have to know the order of magnitude. If you're calculating fuel burn and get 800 gallons for a short flight, you probably mean 8.0.
Wind side: plotting UP instead of DOWN (or vice versa). Always plot the wind UP from the grommet. The wind blows your airplane downstream, so the wind dot goes upwind.
Mixing true and magnetic. The wind side works in TRUE values. Convert to magnetic heading after you solve the problem by applying magnetic variation.
Why Carry an E6B in 2026?
With ForeFlight, Garmin Pilot, and every other digital tool available, why bother with a manual flight computer?
Your DPE will test you on it. Picture this: you're sitting across from your Designated Pilot Examiner during your oral exam, and they slide an E6B across the table and say, "Your iPad just died — show me how to calculate your true airspeed and fuel burn for this cross-country." That scenario happens every day at checkrides across the country. DPEs are known for pulling the "dead battery" card on electronic flight computers, and if you can't work through the problem on a manual E6B, it can be the difference between passing and failing. Don't let an aluminum disc be the reason you have to reschedule your private, instrument, or commercial checkride.
Batteries die, apps crash. An E6B is always on. In 80+ years of use, no pilot has ever had their E6B run out of battery on a cross-country flight. It's the ultimate backup tool.
It builds understanding. Using an E6B forces you to understand the relationships between wind, airspeed, groundspeed, and heading. Pilots who only use apps often can't explain why their groundspeed is different from their airspeed — E6B users can.
It's fast for quick checks. For a quick fuel burn calculation or density altitude check, spinning the discs takes about the same time as unlocking your iPad, opening the app, and navigating to the calculator. Many experienced pilots keep an E6B in their bag specifically for these in-flight quick checks.
Frequently Asked Questions
Do I need an E6B for my checkride?
Yes. FAA Designated Pilot Examiners (DPEs) routinely test E6B proficiency during oral exams for private, instrument, and commercial certificates. A common checkride scenario is the DPE telling you your electronic flight computer's battery just died and asking you to solve problems on a manual E6B. If you can't demonstrate proficiency, it can result in a discontinuance or failure.
Is an electronic E6B allowed on the FAA knowledge test?
Yes, the FAA allows both manual (mechanical) and electronic E6B flight computers during the FAA knowledge tests. However, you cannot use apps on phones or tablets — only dedicated electronic E6B devices or the traditional manual E6B. Many flight instructors recommend learning the manual E6B first since it builds a deeper understanding of the calculations.
How accurate is a manual E6B compared to ForeFlight?
A manual E6B is accurate to within about 1–2% for most calculations, which is more than sufficient for flight planning. ForeFlight and similar apps may give more decimal places, but in practical flying, the difference is negligible. The real advantage of the manual E6B is that it never needs a battery, never loses GPS signal, and never crashes mid-flight.
What's the difference between an E6B and a CX-2 or CX-3?
The E6B is a manual, mechanical flight computer with rotating discs. The CX-2 and CX-3 are electronic flight computers made by ASA that perform the same calculations digitally. Both are valid for checkrides and FAA exams. The E6B is preferred for learning because it helps you understand the underlying math, while electronic versions are faster once you already know the concepts.
How long does it take to learn the E6B?
Most student pilots can learn the essential E6B functions (speed/distance/time, fuel burn, true airspeed, and wind correction) in about 2–4 hours of focused practice. The calculator side is usually intuitive after 30 minutes. The wind side takes longer — plan on a few practice sessions before it clicks. Once you understand it, the skills stay with you permanently.
Get Started

The EntireFlight E6B Flight Computer and Sectional Plotter Bundle comes with a high-quality E6B and plotter. With 38 reviews from student and experienced pilots, it's one of the highest-rated E6B bundles available. The markings are clear, the discs rotate smoothly, and it'll last through your training and beyond.
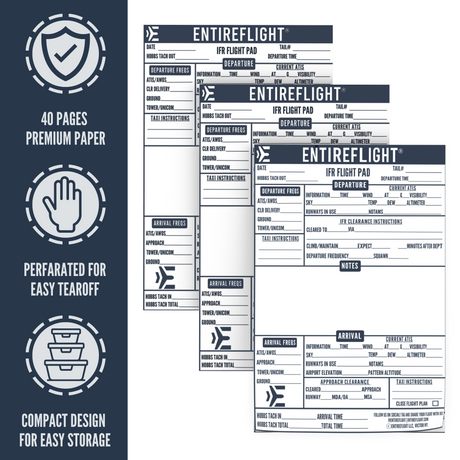
If you're just starting flight training, the Student Pilot Bundle includes the E6B bundle plus a VFR kneeboard and cross-country planning pad — everything you need for your first solo cross-country.
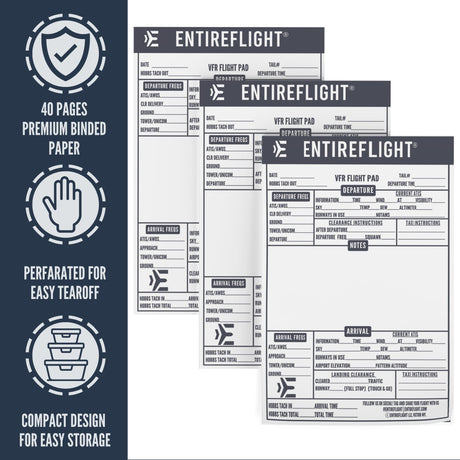
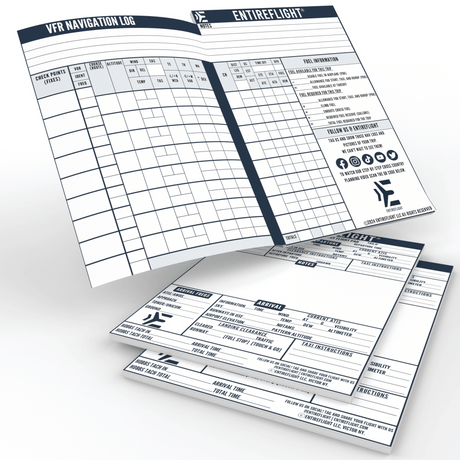
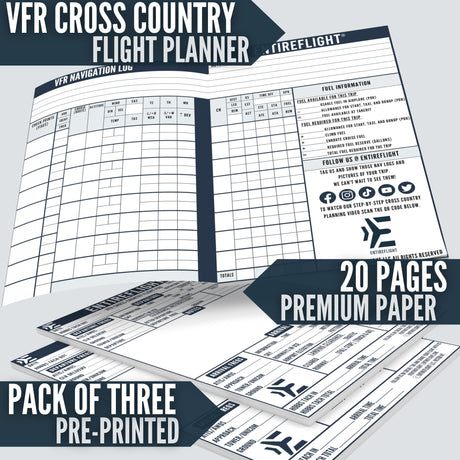
Pair either one with the EntireFlight Cross-Country Planning Flight Pad to put your E6B calculations directly into a structured flight plan you can reference in the cockpit.
Every EntireFlight order ships with a free retractable lanyard. Shop all pilot gear →