If you've ever dreamed of owning your own helicopter, you're probably wondering how much it would cost. The answer to that question depends on a variety of factors, including the type of helicopter you want, its age and condition, and the features and equipment you need. In this article, we'll explore the different factors that affect the cost of buying a helicopter, so you can get a better idea of what to expect.
The first thing to consider when buying a helicopter is the type of helicopter you want. There are many different types of helicopters available, ranging from small two-seaters to large multi-engine models. The cost of a helicopter will depend on its size, performance capabilities, and features. For example, a basic two-seater helicopter might cost around $100,000, while a larger, more advanced model could cost several million dollars. Additionally, the cost of a helicopter can vary depending on whether you buy it new or used.
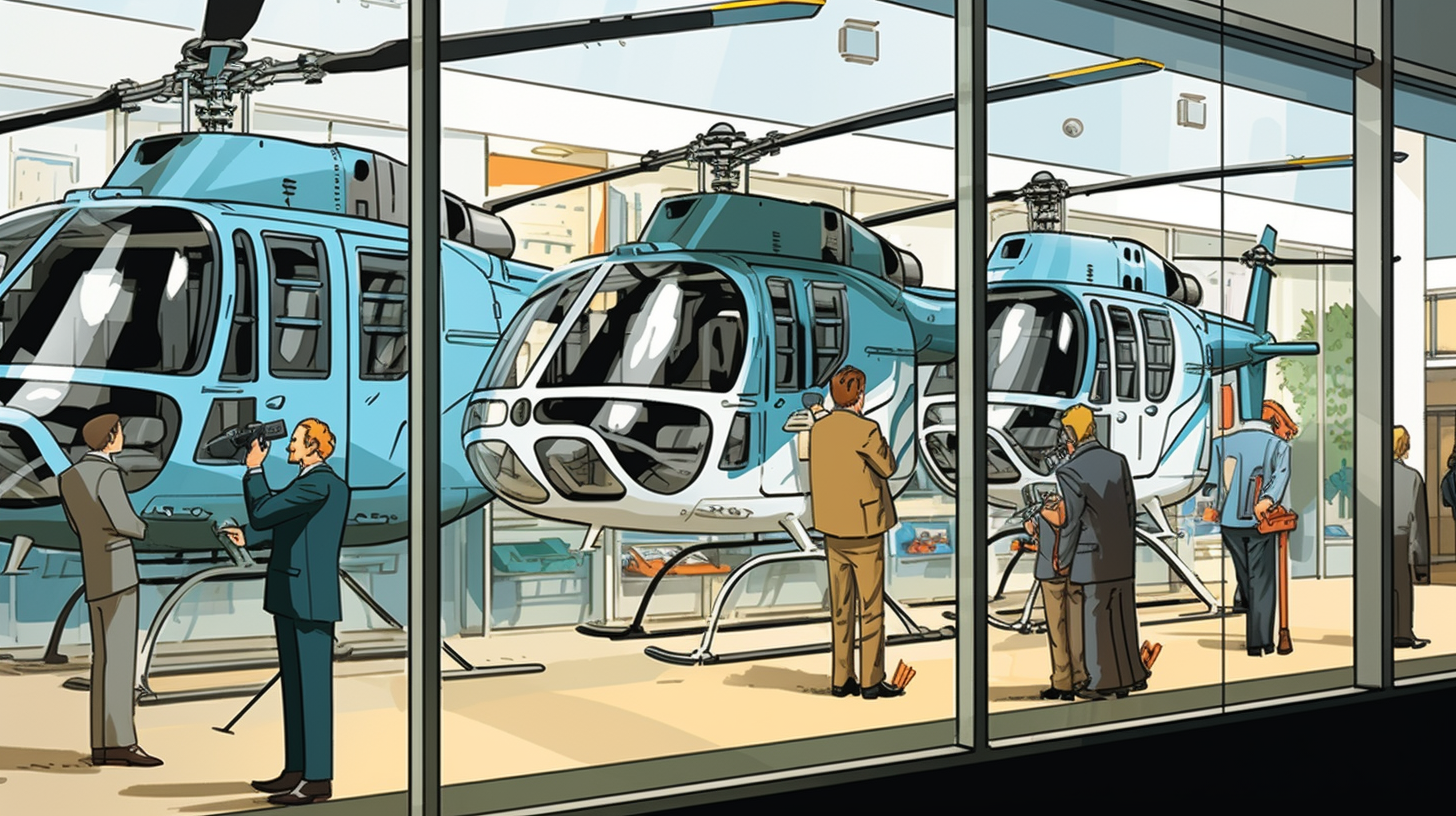
Types of Helicopters
When it comes to purchasing a helicopter, there are various types of helicopters to choose from. Each type of helicopter offers different features, capabilities, and price points. Here are the three main types of helicopters:
Light Helicopters
Light helicopters are the smallest and most affordable type of helicopter. They typically have a maximum takeoff weight of less than 3,000 pounds and can carry up to four passengers. These helicopters are perfect for short trips and sightseeing tours. They are also popular among private pilots who want to own their own aircraft. The cost of a new light helicopter ranges from $250,000 to $1.5 million.
Mid-Size Helicopters
Mid-size helicopters are larger and more powerful than light helicopters. They can carry up to eight passengers and have a maximum takeoff weight of up to 10,000 pounds. These helicopters are ideal for longer trips and corporate transport. They are also used for search and rescue missions and law enforcement. The cost of a new mid-size helicopter ranges from $1.5 million to $7 million.
Heavy Helicopters
Heavy helicopters are the largest and most powerful type of helicopter. They can carry up to 30 passengers and have a maximum takeoff weight of over 20,000 pounds. These helicopters are used for heavy lifting, offshore oil and gas operations, and military transport. The cost of a new heavy helicopter ranges from $7 million to $30 million.
When purchasing a helicopter, it is important to consider your specific needs and budget. Each type of helicopter offers different features and capabilities, so it is essential to do your research and consult with a knowledgeable helicopter dealer.
Purchase Options
When it comes to purchasing a helicopter, there are two main options to consider: buying a new helicopter or buying a used one. Each option has its pros and cons, so it's important to weigh them carefully before making a decision.
New Helicopters
Buying a new helicopter can be an attractive option for those who want the latest technology and features. New helicopters come with warranties and are less likely to have maintenance issues in the short term. Additionally, new helicopters can be customized to meet specific needs and preferences.
However, buying a new helicopter can be expensive. Prices can range from hundreds of thousands to millions of dollars, depending on the make and model. It's important to factor in ongoing costs such as insurance, maintenance, and storage.
Used Helicopters
Buying a used helicopter can be a more affordable option, with prices ranging from tens of thousands to hundreds of thousands of dollars. Used helicopters can offer good value for money, especially if they have been well-maintained and have low flight hours.
However, buying a used helicopter can come with risks. It's important to have a thorough pre-purchase inspection to ensure the helicopter is in good condition. Additionally, older helicopters may not have the latest technology and features, and may require more maintenance and repairs in the long run.
Cost Factors
When considering the cost of buying a helicopter, there are several factors that you should take into account. These factors can greatly impact the overall price of the helicopter, so it's important to understand them before making a purchase.
Engine Type
The type of engine that a helicopter has can greatly affect its price. Turbine engines are typically more expensive than piston engines, but they are also more powerful and efficient. If you plan on using your helicopter for commercial purposes, a turbine engine may be a better option. However, if you're using your helicopter for personal use, a piston engine may be more cost-effective.
Avionics
The avionics system in a helicopter is responsible for navigation, communication, and other important functions. The more advanced the avionics system, the higher the cost of the helicopter. However, having a modern avionics system can greatly improve the safety and efficiency of your flights.
Size and Capacity
The size and capacity of a helicopter can also impact its cost. Larger helicopters that can carry more passengers or cargo are generally more expensive than smaller ones. Additionally, helicopters with more advanced features, such as retractable landing gear or autopilot systems, will also be more expensive.
|
Factor |
Impact on Cost |
|
Engine Type |
Turbine engines are more expensive than piston engines |
|
Avionics |
More advanced systems increase the cost |
|
Size and Capacity |
Larger helicopters with more features are more expensive |
- Turbine engines are more powerful and efficient but more expensive than piston engines.
- Advanced avionics systems improve safety and efficiency but increase the cost.
- Larger helicopters with more features are more expensive than smaller ones.
Additional Costs
When purchasing a helicopter, there are additional costs that you need to consider beyond the initial purchase price. These costs can add up quickly, so it's important to factor them into your budget.
Maintenance
Helicopters require regular maintenance to keep them in good condition and ensure they are safe to fly. Maintenance costs can vary depending on the type of helicopter you own and how often you use it. You should budget for routine maintenance, such as oil changes and inspections, as well as unexpected repairs that may arise.
Insurance
Helicopter insurance is mandatory and can be quite expensive. The cost of insurance will depend on several factors, including the type of helicopter, the amount of coverage you need, and your flying experience. It's important to shop around and compare rates from different insurance providers to find the best coverage at the most affordable price.
Storage and Parking
When you're not using your helicopter, you'll need to store it somewhere. Depending on where you live and the size of your helicopter, storage and parking costs can vary. You may need to rent a hangar or park your helicopter on a private helipad. Make sure to factor in these costs when budgeting for your helicopter purchase.
Financing Options
If you don't have the full amount to purchase a helicopter upfront, there are several financing options available to you. Here are some of the most common ones:
Bank Loans
One of the most common ways to finance a helicopter purchase is through a bank loan. Many banks offer loans specifically for aircraft purchases, including helicopters. These loans typically have lower interest rates than other types of loans because the helicopter itself serves as collateral. However, keep in mind that you will need to have a good credit score and a solid financial history to qualify for a loan.
Leasing
Leasing a helicopter is another option to consider. With a lease, you pay a monthly fee to use the helicopter for a set period of time, usually several years. At the end of the lease, you can either return the helicopter or purchase it at a discounted price. Leasing can be a good option if you only need the helicopter for a short period of time or if you want to avoid the upfront costs of purchasing a helicopter.
Helicopter Financing Companies
There are also companies that specialize in financing helicopter purchases. These companies work with you to find a loan that fits your budget and financial situation. Keep in mind that these loans may have higher interest rates than bank loans, but they may be more flexible in terms of repayment options.
Manufacturer Financing
Some helicopter manufacturers offer financing options for their products. These financing options may include lower interest rates or longer repayment terms than other types of loans. However, keep in mind that these financing options may only be available if you purchase a helicopter directly from the manufacturer.
Legal Considerations
When purchasing a helicopter, there are several legal considerations that you need to keep in mind. Here are a few things to consider:
Registration
Before you can fly your helicopter, you need to register it with the Federal Aviation Administration (FAA). You will need to provide proof of ownership and other relevant information to complete the registration process. The cost of registration varies depending on the type of helicopter you are registering.
Insurance
Helicopters are expensive machines, and accidents can happen. To protect yourself and your investment, you will need to purchase insurance. The cost of insurance will depend on a variety of factors, including the make and model of your helicopter, your flying experience, and your intended use of the aircraft.
Licenses and Certifications
In order to fly a helicopter, you need to have a pilot's license. The type of license you need will depend on the size and complexity of the helicopter you plan to fly. You will also need to obtain any necessary certifications, such as a medical certificate or a flight instructor certificate.
Maintenance and Inspections
Helicopters require regular maintenance and inspections to ensure that they are safe to fly. You will need to work with a certified maintenance provider to keep your helicopter in good condition. The cost of maintenance and inspections will vary depending on the make and model of your helicopter, as well as the frequency of inspections.
Taxes and Fees
When you purchase a helicopter, you will need to pay sales tax and other fees. The exact amount you will need to pay will depend on the state where you register your helicopter and other factors. Be sure to research the tax and fee requirements in your area before making a purchase.
Conclusion
In conclusion, buying a helicopter can be a significant investment, with prices ranging from hundreds of thousands to millions of dollars. The cost of a helicopter depends on several factors, including the type of helicopter, its condition, and its age.
When purchasing a helicopter, it is essential to consider not only the initial purchase price but also ongoing costs such as maintenance, fuel, insurance, and storage. These costs can add up quickly and should be factored into your decision-making process.
It is also important to note that owning a helicopter requires significant training and experience. Pilots must undergo extensive training and certification to fly a helicopter safely. Additionally, operating a helicopter requires a team of skilled professionals, including mechanics and ground crew, to ensure the aircraft's safety and proper maintenance.
Overall, the cost of buying a helicopter can be substantial, but for those who have the means and the passion for flying, it can be a rewarding investment. With careful consideration of all the costs and requirements involved, you can make an informed decision on whether buying a helicopter is the right choice for you.
Frequently Asked Questions
1 - What is the average cost of a single pilot helicopter?
The average cost of a single pilot helicopter ranges from $250,000 to $1.7 million. The cost depends on the type, model, and features of the helicopter. The more advanced features a helicopter has, the more expensive it will be.
2 - What is the best helicopter to buy for personal use?
The best helicopter for personal use depends on your needs and budget. Some popular options for personal use include the Robinson R44, Airbus H125, and Bell 505. These helicopters range from $300,000 to $2 million.
3 - Are there any military helicopters available for sale to civilians?
Yes, there are some military helicopters available for sale to civilians. However, they are typically more expensive than civilian helicopters and require special permits and licenses to operate. Some popular military helicopters for sale include the Bell UH-1 Huey and the Sikorsky UH-60 Black Hawk.
4 - Where can I find the cheapest helicopter for sale?
You can find the cheapest helicopters for sale at auctions, online marketplaces, and from private sellers. However, it's important to note that cheaper helicopters may have higher maintenance costs and may not be as reliable as more expensive options.
5 - What is the average cost of a small two-seater helicopter?
The average cost of a small two-seater helicopter ranges from $100,000 to $300,000. Some popular options include the Robinson R22 and the Enstrom F28. However, it's important to note that these helicopters have limited range and may not be suitable for longer flights.